I imagine that most of us are going stir crazy at home right about now, and if you're experiencing bad weather as well, our mental health might be suffering a bit. Many folks are exhausted from taking care of others whether you're a first responder, a medical professional, a family caregiver, a grocery store clerk or postal worker.
This might just be the perfect time for a little art therapy. It's a great time to sit quietly by yourself and express your feelings in art or to gather all the kids together to do a family project. Family paint night could be just the thing to bring a little joy right now. For a quick project check out supplies in the links from my shop below.
So go ahead, pick a subject for everyone to paint, or let your imagination soar.
Monday, April 13, 2020
Family Paint Night as Art Therapy
Sunday, March 22, 2020
Start Pressing Flowers this Spring
I’ve been pressing flowers for many years and have picked up
a thing or two about the process in that time. But I've always learned from my failures as well. So if you don't have immediate success, keep trying and have patience.
If you are just starting out pressing there are some basic guidelines to follow. Always choose the
best looking, freshest flowers in your garden to work with. The fresher they are the better the color will be coming out of the press. Pick them when they
are dry. Putting damp flowers into a flower press is asking for trouble. The
more moisture you start with, the harder it will be to dry your collection
quickly for best results. Slow drying flowers will promote mold growth and
destroy the beautiful color you are trying to preserve. I like to pick flowers in
the late morning in my area of the northeast because the dew is usually dried
by that time, but the harsh sun has not had a chance to fade the blossoms yet.
I think my first big failure when I first started to press
flowers was lilacs. It was such a disappointment to open the press full of dark brown flowers. Trying to press the whole flower stem was obviously the
wrong way to go. Thickness and bulk of flowers has a big effect on how they
turn out. I prefer to work with flowers that have thinner petals and centers rather
than thick flowers. The thicker the flower, the slower it dries, and if you
have humid weather to deal with on top of that you will most likely end up
opening a flower press full of moldy, discolored or blackened flowers. I break larger flowers
down into smaller components. For example, when I press large roses I separate the petals from the
center and press them separately. They can be reassembled when you make your
creation and the color will be more vivid. Flowers like hydrangea, which have multiple blossoms on one stem, can
often be picked apart and individual florets pressed separately. I usually press individual blooms
and smaller stems of the panicle or mophead type hydrangeas rather than the
entire flower head. I still don’t have good luck with lilac, but so many other
flowers do work well that I’m quite happy with what I have to use.
Some flowers just hold color better than others. No big
revelation there, but the trial and error involved in finding out which flowers
work best is pretty time consuming. Don’t be discouraged if your beginning
efforts don’t turn out as you expected at first. This craft will cultivate
patience. For the beginner I would suggest some tried and true options. I’m
located in zone 4 so if you are in a warmer climate you may have more or
different options than I do in my garden. I almost always have good luck with
pansies, forget me nots, pink hydrangea, larkspur and delphiniums, buttercup,
lavender, and don’t neglect to press some queen Ann’s lace for a nice white.
Whether you are using a flower press or books, be sure that you do not overfill it. Again, drying flowers quickly matters. I also try to place my presses in a well ventilated area or use a fan to move the air around. I often place my presses out in the sun on a breezy day to speed the process. Don't forget to bring them in at the end of the day as they will pick up dew overnight.
The most important aspect that I have learned from pressing
flowers is how to enjoy nature. You will be up close and personal with your garden
more often and learn to appreciate the finer details in nature. You’ll notice
fragrances, colors, patterns and textures of flowers that previously went
unnoticed. You’ll see insects in a different light. You’ll wait patiently for
flowers to open so you can pick them at just the right moment to suspend their
life and enjoy them later.
It is so rewarding to sit on a winter day and open a drawer to pick and choose lovely pressed flowers to use in that next special creation. You might even say "I remember the day I picked this one. What a beautiful summer day that was."
So to recap
It is so rewarding to sit on a winter day and open a drawer to pick and choose lovely pressed flowers to use in that next special creation. You might even say "I remember the day I picked this one. What a beautiful summer day that was."
So to recap
- Pick freshly opened flowers
- Make sure your plant material is dry
- Dry as quickly as possible for best results
- Easy-peasy
Saturday, March 7, 2020
My Pressed Flower Journey
My journey into flower pressing began in the early 1980s,
and continues today, more than 35 years later. I'm still as passionate as ever about this wonderful art
form and relaxing pastime. Once I tried it, I was immediately hooked. The colors, forms and textures were amazing. Flowers going into a press
might not come out the same color they went in, and it’s always a little
magical to see the transformation.
My passion began accidentally when I ran out of room
for dried flowers. The sheer volume of dried flowers took up much more storage
space than pressed flowers. My house and shed were filled with gorgeous
dried flowers, and I had no more room to add to my beautiful collection. Each
time I saw new blooms that I wanted to keep I felt sad that they would just
wither and die, never to be seen again. Then I discovered flower pressing and never looked back.
My husband crafted several large flower presses for me out of
plywood, nuts and bolts. They were very functional and did the
job. I was off on my new endeavor. I bought some large sheets of blotting
paper and cut them to size to fit the presses. I was able to stack 5 or 6 layers in
each press separated by sheets of newspaper to wick out moisture and speed the process. That would amount to being able to dry up to a couple of hundred
flowers at a time per press. I’m still using those same presses today and can’t begin to
imagine how many flowers I’ve processed with them. I've given a couple of them to friends, and most recently had my husband create three more for me. Included is a small 'mobile' press that I keep in our vehicle just in case I run across something beautiful that I can't resist putting in a press.
![]() |
| New 2019 homemade flower press |
![]() |
| One of my rough but still functional presses from the 1980s |
Next I had to figure out how to store my new palette of
colorful flowers. I
purchased some inexpensive plastic stacking desktop drawers. The kind that holds an 8 1/2" x 11" sheets of paper. I filled them in no time at all. Storing 25-50 flowers per sheet I carefully filled the drawers with stacks of
paper and flowers. I also managed to acquire a floor model jewelry case that works great and holds tons of flowers.
![]() |
| Storage drawers |
![]() |
| Add caption |
A friend had recently purchased a heat laminator and invited me to take a look to see what it could do. We were experimenting with it and decided to put a few leaves into one of the pouches to see what would happen. What came out of the laminator was fascinating and started me thinking about the possibilities. I started making bookmarks and cards with my treasures.
Over the years I've pressed tens of thousands of flowers and made thousands of bookmarks, cards and wall hangings. I'm still passionate about pressed flowers and you can find me pressing flowers and beautiful Maine fall foliage from first bloom in the spring to last leaf drop in the fall. The colder months are spent creating with my little treasures and remembering the beautiful days I picked my palette of spectacular blooms and dreamed of what I would create with them.


Over the years I've pressed tens of thousands of flowers and made thousands of bookmarks, cards and wall hangings. I'm still passionate about pressed flowers and you can find me pressing flowers and beautiful Maine fall foliage from first bloom in the spring to last leaf drop in the fall. The colder months are spent creating with my little treasures and remembering the beautiful days I picked my palette of spectacular blooms and dreamed of what I would create with them.


Labels:
art form,
botanical,
craft projects,
crafting,
diy crafts,
dried flowers,
flat flowers,
flower collecting,
flower press,
handmade art,
herbarium,
nature art,
oshibana,
pansies,
pressed flowers
Thursday, December 26, 2013
Thanks to All of Our Emergency Workers
It seemed like everything I wanted to do couldn't be done. I had no idea when I was a kid that we would be so dependent on technology someday that it could bring us to our knees. Well, I'm being a little dramatic, but you get the idea. I couldn't ship any orders because I couldn't get into our online Etsy shop. I couldn't do any banking because the internet was down. I couldn't email anyone an e-card to tell them Merry Christmas because I had no email. I couldn't even look up a recipe except in an old fashioned, real book, eek! no reviews? There was no television without cable.
So we had no internet or cable for a couple of days, but thankfully we had power until...just before Christmas dinner was fully cooked. Darn it, we almost made it. Well, the roast was done, but the roasted potatoes and carrots were not to the ideal done-ness. We made do. Then we hooked up the generator so that we could have heat and a light (we learned our lesson in the 1998 ice storm and bought a generator). We converted to a gas stove top a couple of years ago so we would be fine for cooking and most importantly, coffee! This storm wouldn't be as bad as the 1998 storm, but still, who wants to spend Christmas without our normal stuff like heat and lights.
But most importantly, I thought about all of the emergency workers who were giving up their Christmas to help out the rest of us. The line workers who repair our power lines, the police who keep our roads safe, municipal employees who plow our roads, medical staff who fix our banged up bodies and everyone else that it takes to keep our world comfortable for us. Those folks who thought about the families who were having a cold Christmas without their normal everyday comforts. Thank you, thank you, thank you. You are all heroes in our world.
So now I can have a nice cup of hot coffee and sit and look out the window. I'll watch all the birds flitting about in the icy trees that look like spun glass and sparkle in the sunlight. Thanks to all of our heroes.
Thursday, August 29, 2013
One More Use for Duct Tape
So what does a Grammy do with her grandson two days before he goes back to school. We started out going shopping for a last minute outfit and to get school supplies still missing from "the list". He has to be prepared this year since it was the first day at a new school. Then it was out to lunch at Friendly's for the two of us. He's so much fun to chat with at 11 years old.
So when we got back to the house we checked out some cool crafts online that we could do together for the rest of the day. I bought some of the awesome new patterns and colors of duct tape a while ago and we pulled those out to make something. Neither of us ever tried duck tape crafts before so we were going to start with a really small, simple project. Well, somehow after our online research I found myself talked into making a bullet proof Nerf gun vest. I was thinking maybe a pencil case or a wallet.
It took a little longer than I expected. We got the back piece and one side of the front measured, cut and taped in about two hours. By then we were both a little weary of measuring and cutting pieces so we decided that we would finish it the next day since he was spending the night.
We fell a tiny bit short of green tape, so before we completed it we had to make a trip to the craft supply store the next morning . Then there were the inevitable adjustments along the way, but we finally completed it late in the afternoon just in time for him to take it home with him. In all, it took about 4 hours to complete. I don't think it came out too bad for our first try.
I understand it might be part of an outfit for Wacky Wednesday at school sometime in the future! And I was told that we might need to add pockets for Nerf accessories too!


So when we got back to the house we checked out some cool crafts online that we could do together for the rest of the day. I bought some of the awesome new patterns and colors of duct tape a while ago and we pulled those out to make something. Neither of us ever tried duck tape crafts before so we were going to start with a really small, simple project. Well, somehow after our online research I found myself talked into making a bullet proof Nerf gun vest. I was thinking maybe a pencil case or a wallet.
It took a little longer than I expected. We got the back piece and one side of the front measured, cut and taped in about two hours. By then we were both a little weary of measuring and cutting pieces so we decided that we would finish it the next day since he was spending the night.
We fell a tiny bit short of green tape, so before we completed it we had to make a trip to the craft supply store the next morning . Then there were the inevitable adjustments along the way, but we finally completed it late in the afternoon just in time for him to take it home with him. In all, it took about 4 hours to complete. I don't think it came out too bad for our first try.
I understand it might be part of an outfit for Wacky Wednesday at school sometime in the future! And I was told that we might need to add pockets for Nerf accessories too!

Labels:
back to school,
boy,
crafts,
duct tape,
grandma,
grandson,
middle school,
Nerf,
vest
Sunday, July 21, 2013
Artist's Block
I've had awful artist's block lately. Or maybe it's adult ADHD because I can never settle my mind down long enough to concentrate on just one thing that I'd like to create. My mind goes from one subject to the next at lightening speed and when I'm done I'm so confused about what I want to do that I don't do anything. And what medium to use only complicates things even more. So when that happens I usually just go buy some more art supplies to clear my head. Does anyone else have this problem or is it just me?
I'm a dabbler at heart and like so many mediums that I can't say that I am a watercolor artist, pen and ink lover, mixed media maker or any other thing that anyone could identify me with. So I'm just going to show you a bunch of some of the things I like to do. Of course, these are all things that I had to slow down my mind long enough to concentrate and finish!
You can find all of my creations in either of our shops here MyHumbleJumble or here at TheRusticWoodshed
I'm a dabbler at heart and like so many mediums that I can't say that I am a watercolor artist, pen and ink lover, mixed media maker or any other thing that anyone could identify me with. So I'm just going to show you a bunch of some of the things I like to do. Of course, these are all things that I had to slow down my mind long enough to concentrate and finish!
| Watercolor painting of chives |
| Acrylic painting of hot peppers |
| Whimisical whale using soft pastel background and ink |
| Painted rock using acrylics |
| Oil pastel painting on birch bark with a birch twig frame |
| Birch bark collage on a piece of reclaimed wood |
| Pressed leaves and wild flowers made into laminated bookmarks |
| Zentangle style ACEO in ink and acrylic paint |
You can find all of my creations in either of our shops here MyHumbleJumble or here at TheRusticWoodshed
Labels:
acrylic painting,
birch bark,
bookmarks,
hot peppers,
kitchen art,
landscape,
mixed media,
ocean,
painted rocks,
pastels,
pen and ink,
potted chives,
pressed flowers,
watercolor,
whale
Monday, June 3, 2013
Easy DIY Flower Vase
I've had this tradition at camp for years of picking wildflowers for the table when we are up for more than a day or two. My container of choice is whatever is on hand and most of the time it ends up being something like an old coffee can. So when I found this DIY idea on Pinterest I just had to try it. It was so easy and turned out kind of cute so I thought I would share it with all of you. It's just about the easiest thing to do, and I'm all about easy, so here goes.
You'll need:
clear glass container to use as your vase. I used an old jar.
ModPodge craft glue
food coloring
paint brush
Water to clean up
- Mix some ModPodge with your favorite color of food coloring or create your own custom color. I used a little more than I needed but if you mix it in a container that has a tight fitting lid it will last a while in case you want to do more than one.
- Brush a thin even coat on the entire container. Let dry thoroughly between coats and add as many coats as needed to get the desired depth of color. I did about 7-8 coats to get the color I wanted. I added a piece of twine for a little embellishment.
- Voila! You have a nicely colored glass vase for your flowers.
NOTE: This is not waterproof so don''t submerge in water.
It was early in the season when I brought my vase to camp so I opted for a few larch cone stems to fill in until the summer flowers arrive. What do you think?
| The new ModPodge vase with larch cone stems |
Sunday, May 5, 2013
Fun and Work and Camp
One of my favorite times of the year is finally here. May is a revitalizing month. The sun is warm on my shoulders as I walk through the woods and see the remains of leaves that were deposited on the forest floor last fall. It's a reminder of the beautiful autumns that we experience in Maine. But I can also see all of the little sprouts of the life poking up through the soft soil telling of the beauty to come in the months ahead. Mayflower and trillium tease me as I walk along our brook at camp. they seem to say "stay for a few more days and we'll really put on a show for you." But we still have to go home. Retirement doesn't alleviate all responsibility, and we still have to take care of those mundane things like lawn mowing and bill paying.
This last trip we had a chance cut a tree or two that needed to come down. These have been reclaimed and turned into pieces of wood to be used for all sorts of crafts and woodland decorating and you'll be able to see them in our shop as soon as I can sort everything out and post them.
| Maple Slices |
| White Birch Slices |
| White Birch Pedestals |
| Maple Chunks |
Monday, April 29, 2013
Helping Disabled Veteran's One at A Time
Shawna Mayo is a disabled Iraqi war veteran who served 4 years as a combat medic. She's also a talented member of the Etsy.com community, and a fellow Etsy Maine Team member who is looking for an independent life for herself and her family by creating with clay.
Please take a moment to visit the link below to find out more about Shawna and how you can help her achieve her dream through the Kickstarter Project.
She has less than two weeks to attain her goal of raising $5,000. So far, over 100 backers have committed to donating over $4,000 to help her. Please consider a donation to Shawna's project.
Tuesday, April 16, 2013
Signs of Spring!
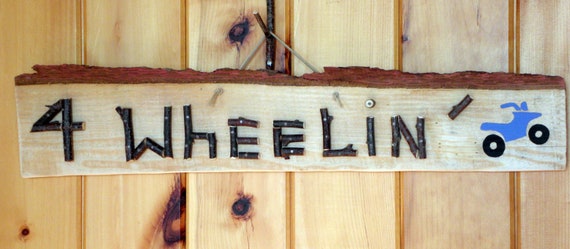
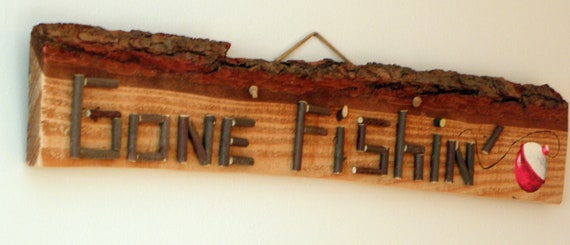
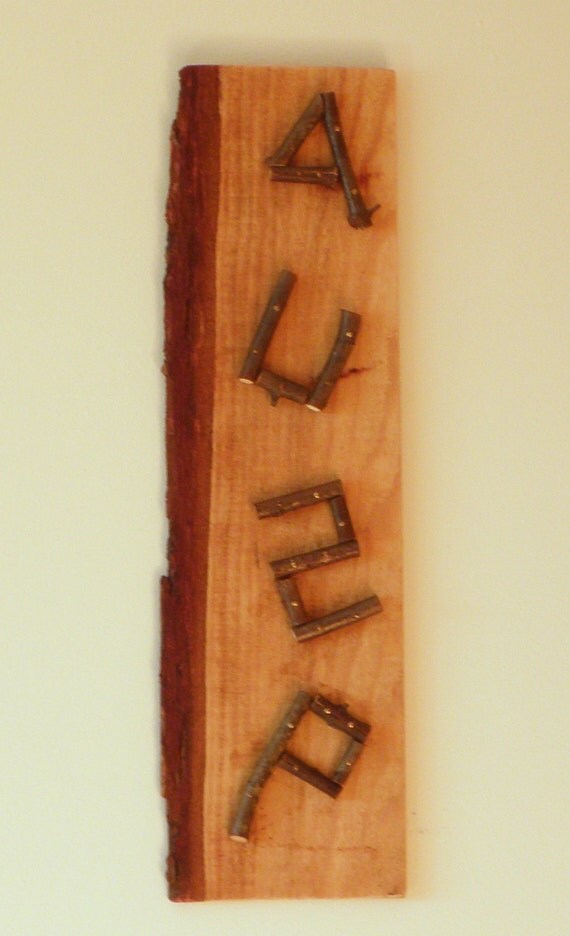
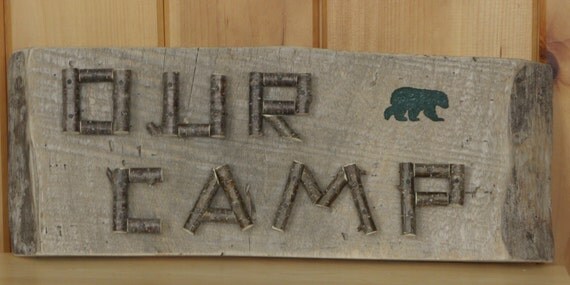
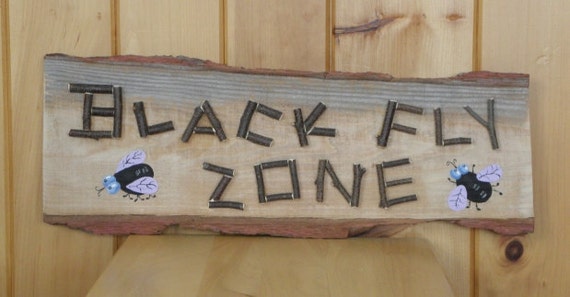
Yep, signs of spring. No pun intended, but here are a few of the fun signs that are posted in our shop that will remind you of the good times ahead now that winter is mostly behind us!
Get the buggy out for a ride and
Put the sign up. We're goin' fishin'!
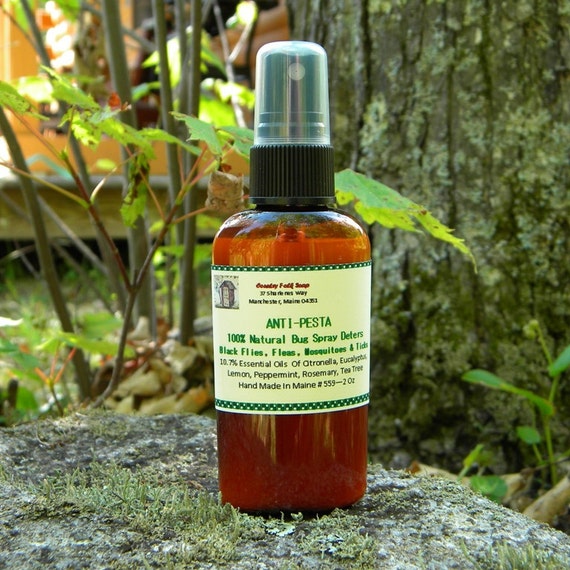
Don't forget the bug spray!
and make sure to stop in the outhouse...
before you leave...
Tuesday, April 9, 2013
What Makes an Artist?
I struggle with the idea of what makes an artist, and if I can consider myself one. This morning, Dave shared a website photo with me that helped me decide that anyone of us can be an artist. It's all about self expression!
Caddisfly larvae construct their own protective home with whatever materials they have at hand in the water. I watch them annually in our brook at camp and am always fascinated by their ability to disguise themselves as what usually looks like a piece of twig floating on the bottom of the stream.
This French Artist, Hubert Duprat, had the brilliant idea of supplying the caddisfly with some unusual materials. Tiny beads and gold flecks were given to the insects who then constructed these gorgeous homes for themselves. What gorgeous beads these would make for jewelry! Once the larvae have vacated their home of course!
Caddisfly larvae construct their own protective home with whatever materials they have at hand in the water. I watch them annually in our brook at camp and am always fascinated by their ability to disguise themselves as what usually looks like a piece of twig floating on the bottom of the stream.
This French Artist, Hubert Duprat, had the brilliant idea of supplying the caddisfly with some unusual materials. Tiny beads and gold flecks were given to the insects who then constructed these gorgeous homes for themselves. What gorgeous beads these would make for jewelry! Once the larvae have vacated their home of course!
![]() |
| Hubert Duprat's exquisite caddisfly |
![]() |
| A Caddisfly from Kidder Brook in Concord, Maine |
Labels:
art,
artist,
beads,
brook,
caddisfly,
concord maine,
create,
fly fishing,
gold,
insect,
stream
Sunday, April 7, 2013
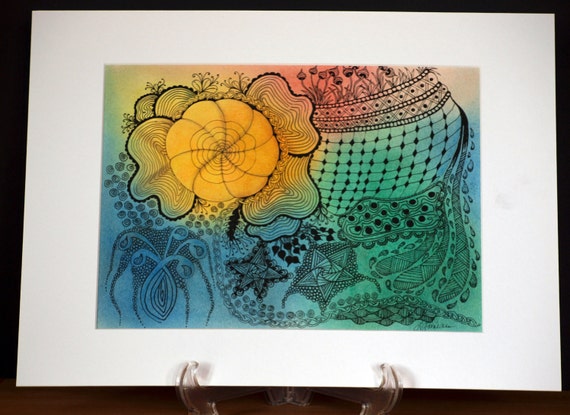
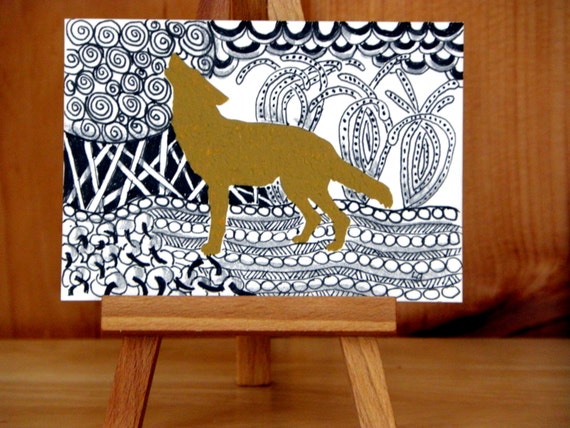
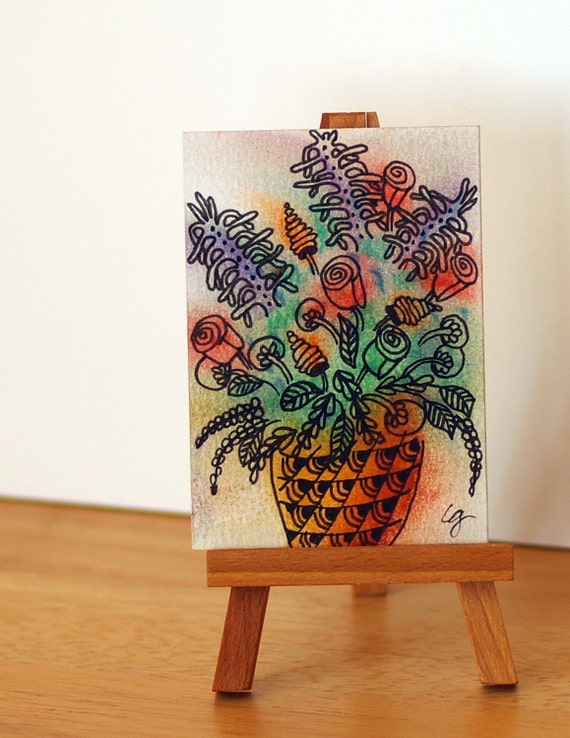
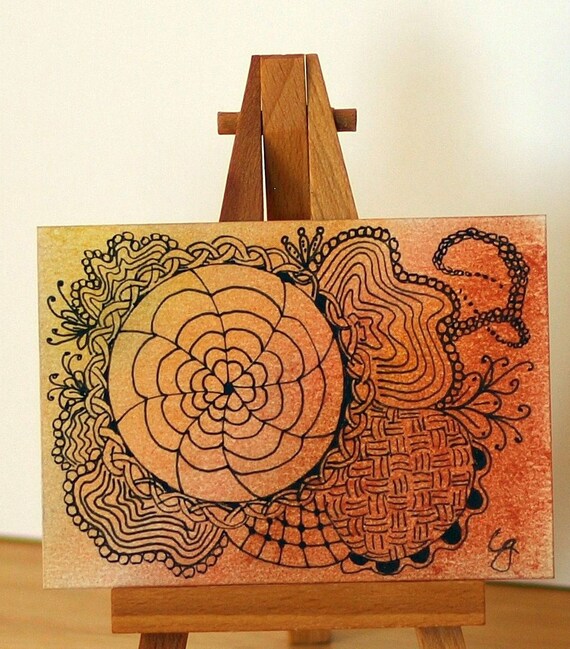
A Little Art Therapy Never Hurt Anyone
I bit the bullet. After a year of indecision, I decided it was time to get the dreaded hip replacement that I had been putting off for over a year. So when I finally had everything scheduled I thought that I should have something that I could do easily to pass the time while I was recovering. I knew I wouldn't be able to work with my pressed flowers at first because it would be too hard to sit at the work station in my itty bitty studio. I was a little burned out on crocheting at the moment, so I thought that I would just get some sketch pads, and pens and pencils and draw and doodle my time away. Between drawing and reading I figured I would get through the boring part when I couldn't get around too well.
Sometime in January I ran across a book that looked interesting and proved to be just what the doctor ordered (not really, I just thought it looked cool). One Zentangle a Day by Beckah Krahula not only proved to be an interesting book that includes a 6-week course in Zentangle, but it was the best art therapy I could have found. Once I started following the book I was completely immersed in another world and could really ignore all of that post surgical discomfort for a while. I have done a little meditation in the past, and found that this was really quite similar. Once I began practicing the repetitive patterns I found myself so immersed in them that I forgot about everything around me and the pain that I was having.
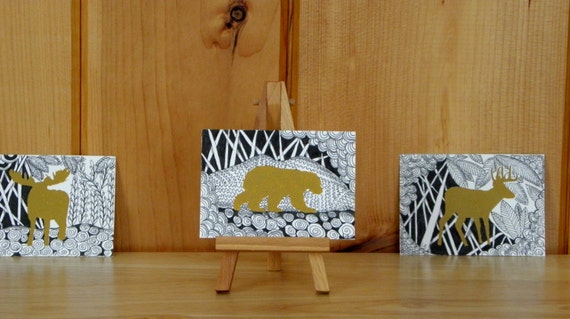
I'd recommend this form of "art therapy" to anyone. You don't need to be an artist to learn it. It's really easy to follow along in the book that I used or any number of other books written on Zentangle. I'm continuing to enjoy learning my new art form and would like to share a few pieces that I've posted in my shop with you.
Sometime in January I ran across a book that looked interesting and proved to be just what the doctor ordered (not really, I just thought it looked cool). One Zentangle a Day by Beckah Krahula not only proved to be an interesting book that includes a 6-week course in Zentangle, but it was the best art therapy I could have found. Once I started following the book I was completely immersed in another world and could really ignore all of that post surgical discomfort for a while. I have done a little meditation in the past, and found that this was really quite similar. Once I began practicing the repetitive patterns I found myself so immersed in them that I forgot about everything around me and the pain that I was having.
I'd recommend this form of "art therapy" to anyone. You don't need to be an artist to learn it. It's really easy to follow along in the book that I used or any number of other books written on Zentangle. I'm continuing to enjoy learning my new art form and would like to share a few pieces that I've posted in my shop with you.
Wednesday, April 3, 2013
Hurry Up Spring!
I'm sitting here taking a break from filing - stuff that should have been filed three months ago. Yep, we're three months into 2013 and I haven't set up my files for this year yet. So I'm sitting here daydreaming out the window about spring because in our central Maine yard the snow is almost gone - except for those nasty, grungy snow plow piles that refuse to disappear with the rest of the normal snow. Daffodils are poking up and I can see some buds coming along that seem just as excited about spring as I am.
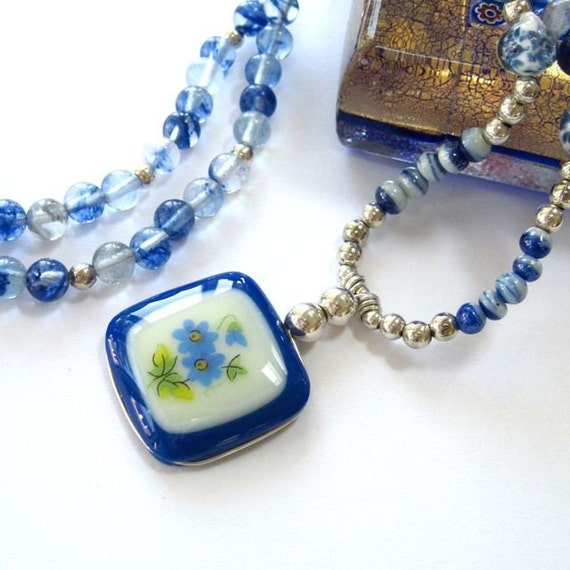
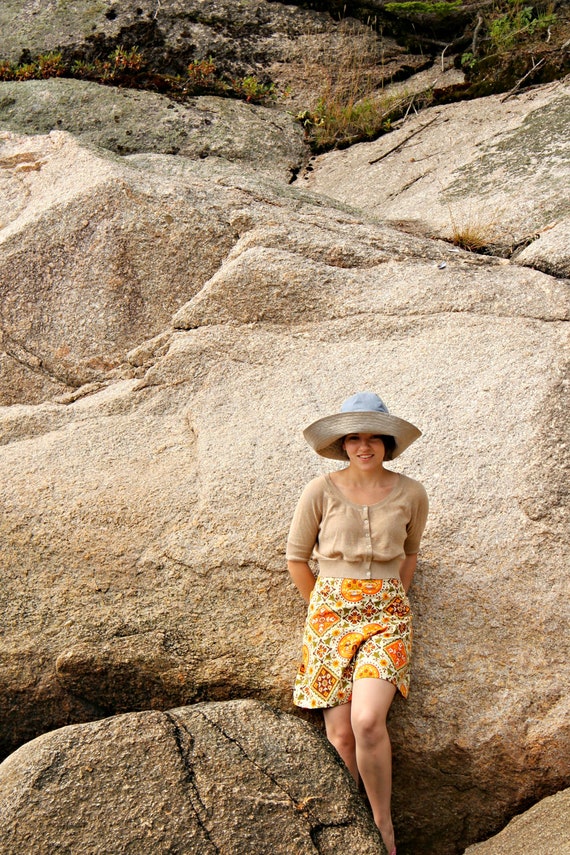
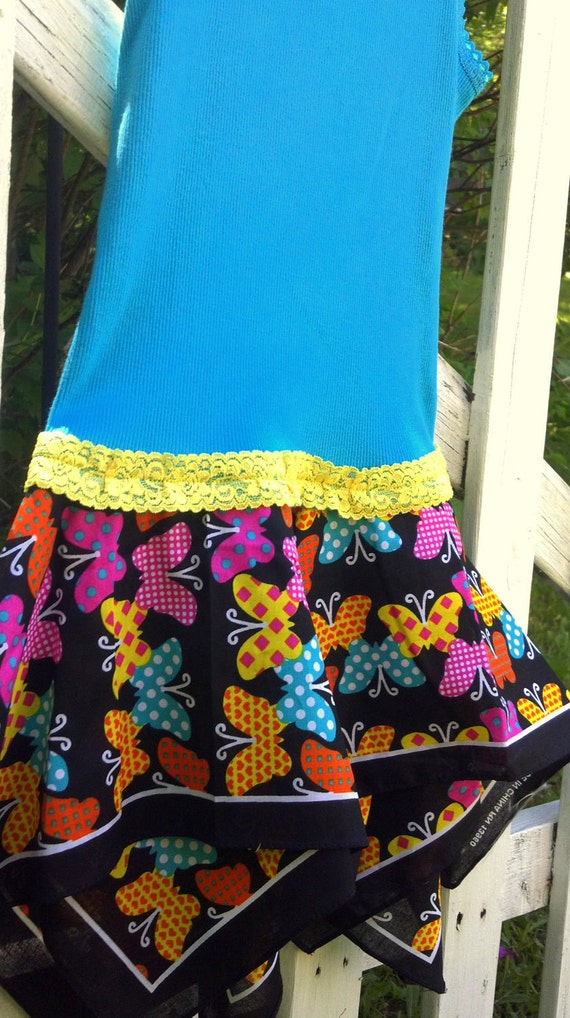
So while I was daydreaming I decided to pursue one of my favorite pastimes, window shopping on Etsy.com to see what spring things my teammates have posted for sale. I've put together a treasury of some wonderful handmade items that can be found on Etsy.com Here's the link to the full treasury (Etsy Treasury) with a few teasers below for you to check out.
And if your as excited to get out and dig in the dirt or have a picnic as I am, I just know that you'll find something to fit your taste.
So while I was daydreaming I decided to pursue one of my favorite pastimes, window shopping on Etsy.com to see what spring things my teammates have posted for sale. I've put together a treasury of some wonderful handmade items that can be found on Etsy.com Here's the link to the full treasury (Etsy Treasury) with a few teasers below for you to check out.
And if your as excited to get out and dig in the dirt or have a picnic as I am, I just know that you'll find something to fit your taste.
Subscribe to:
Posts (Atom)